As we’ve went over before when printing anything, the color mode for print is CMYK and not RGB. Some programs can do this for you when you go straight to printing and you can set it to CMYK from there. But here’s how you do it before hand.
First you pull up an image on photoshop.
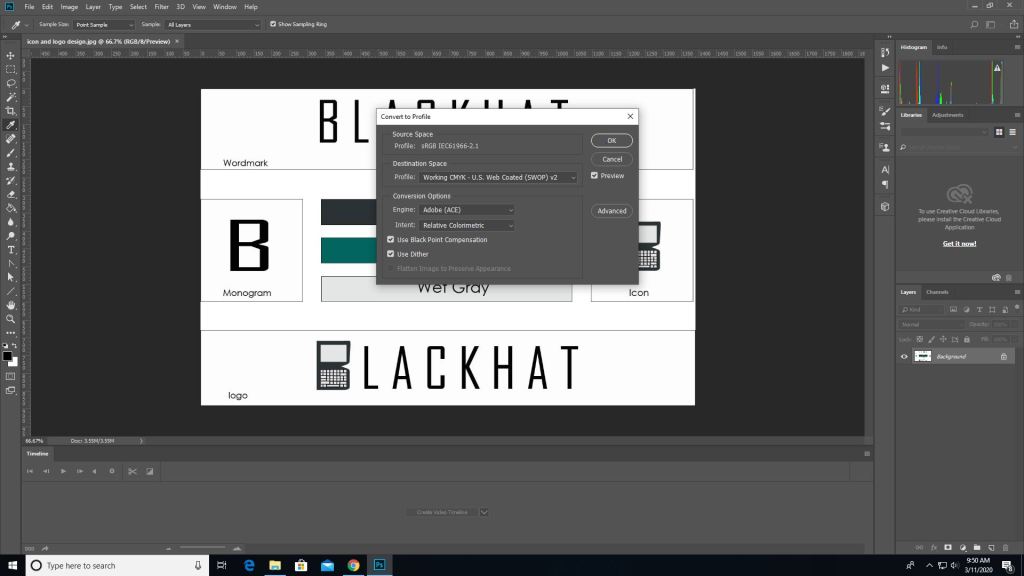
Then you go into edit -> convert to profile color then it will give you the option to change it to CMYK automatically depending on the printer you use.
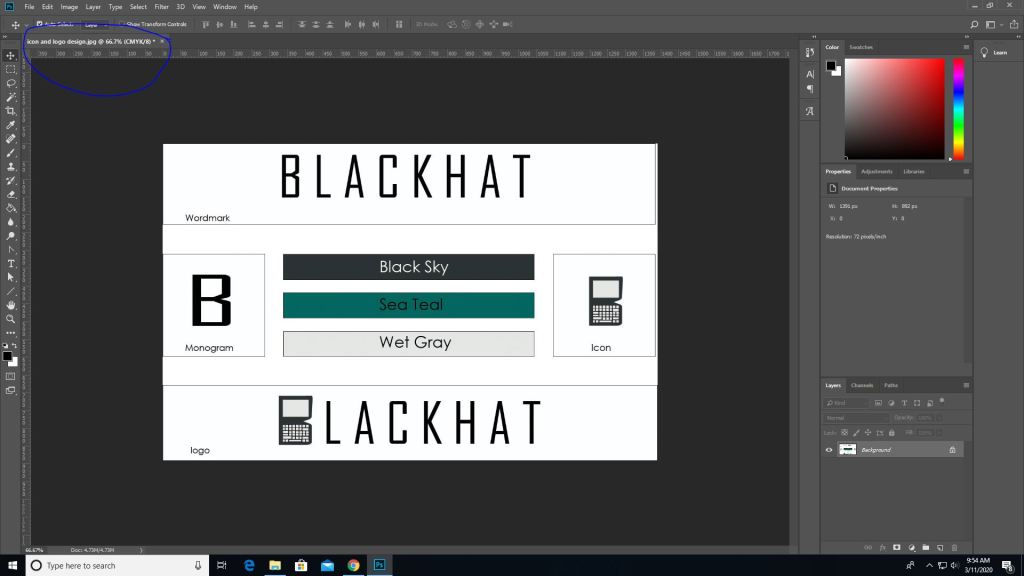
Then as you can see the color mode changed from RGB to CMYK.
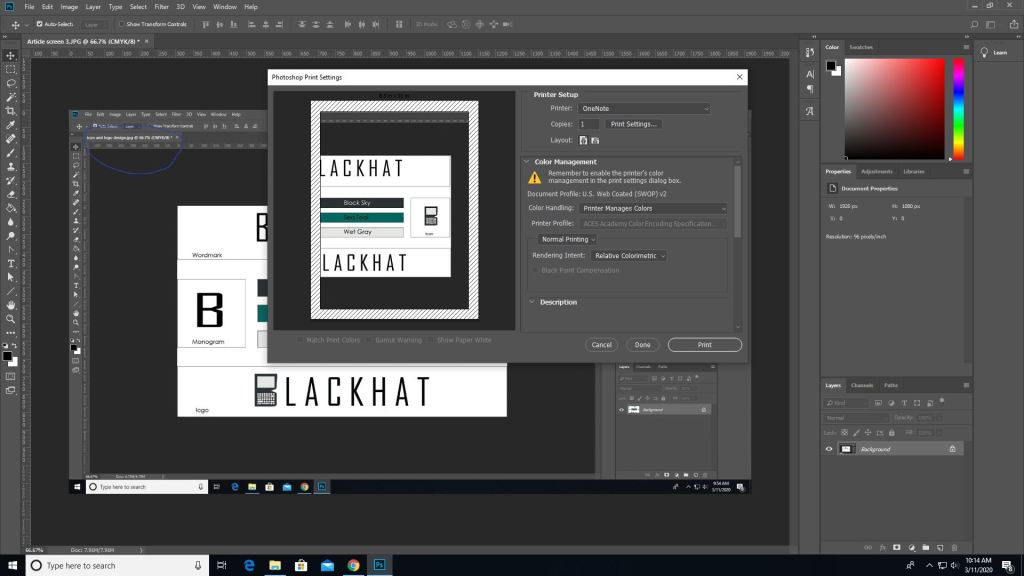
(This picture was made after converting the last image which is why the blue circle looks duller, product of converting) To print go to the file tab-> print, and you’ll see all these options. Where it says document profile it should say web coated (which is basically CMYK). Once you are done setting up hit print.
It works similarly in other programs such as illustrator as well but the placements are somewhat different.
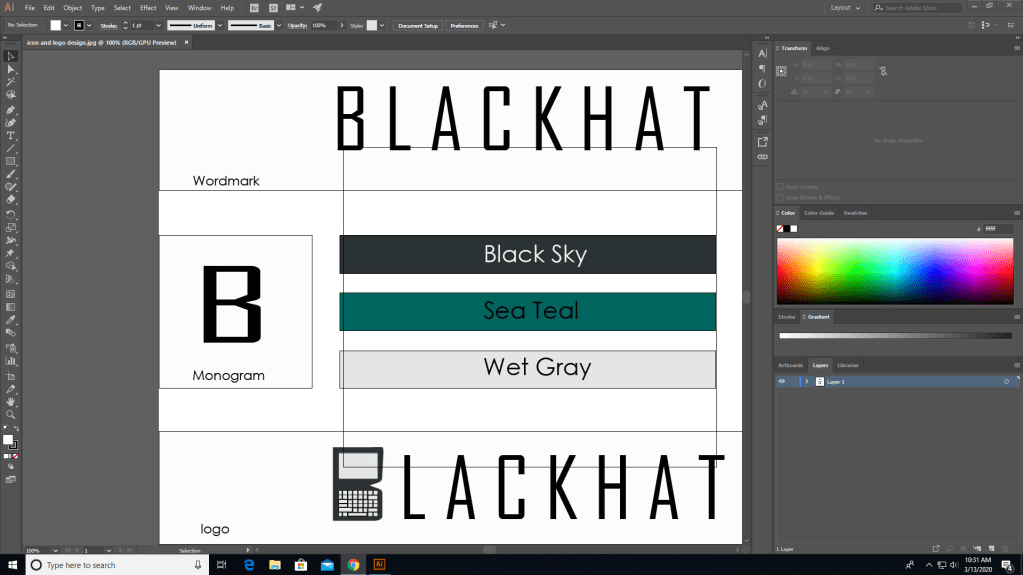
In illustrator you need to go to file for this one.
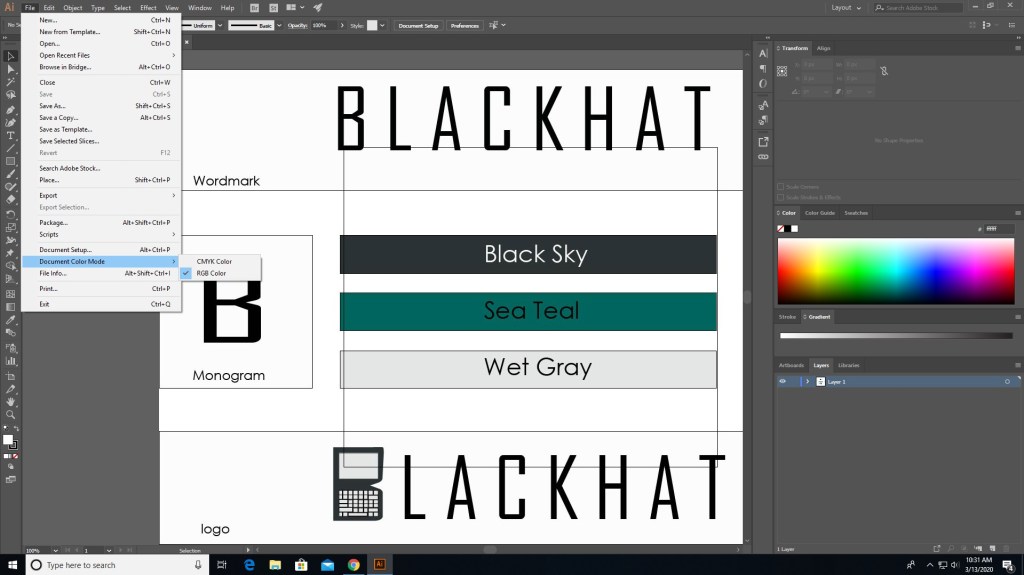
In file find “document color mode” and choose CMYK instead.
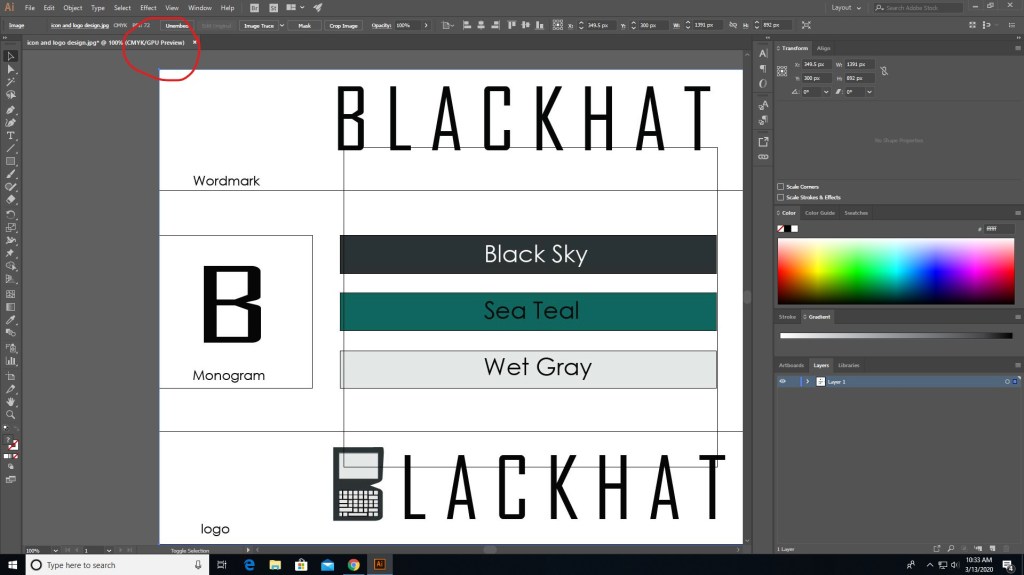
And now it should say CMYK instead of RGB.
There are different programs that does this differently but the ways that they do this isn’t hard. Just go to file (mostly) and find the settings that convert to CMYK, you can even do it right before you print. Also if you see some type of warning telling you that the color isn’t supported for CMYK then click on the warning and it should set it to a similar but more well supported color pallet.
That’s basically it, it’s that simple. Now get out there and print something nice.
