When it comes to making gifs (not pronounced JIFFs), it’s a bit more complicated than taking a picture, or just drawing a picture. Because in animation it’s really about multiple pictures with objects in multiple positions.

There are multiple ways of making animated gifs, you can use software such as Photoshop (which is what I used) or other adobe software such as animate, or premier. As you can see there is a timeline for this displaying the start to finish for the length of the video.
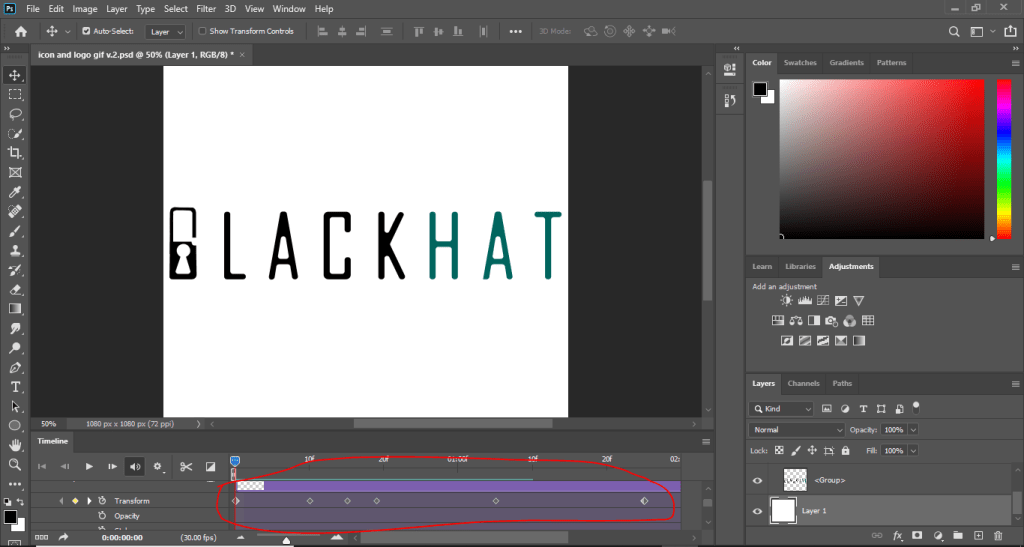
The dots in the transform timeline are pivot points which indicate where the action is supposed to start and finish. The pivots in the transform timeline means that I was using the transform action to move the lock object. This method is called in-betweening (or tweening as the animators on youtube would say), where you would get an object and transform (move) it giving it the Illusion of motion.
To export as an actual animation you first need to save for web. First go to file -> export -> save for web legacy, then where it says PSD change it to gif.
There are other ways to animate like frame by frame, and photoshop can do that but I’m not an expert on the frames portion of it, when it comes to frame by frame I would use another software. Here’s a video that will explain it better. https://www.youtube.com/watch?v=J2fy_iNFhFo. And the tutorial that I used is this https://www.youtube.com/watch?v=rbwQwDg8x0Y.
It’s not the ball animation tutorial that you will mostly see in animation tutorials, but it’s close enough right? Yes, good. So if you followed the tutorial you should have something that looks like my animation above. Now go create some nice business slides, cartoons, or memes or whatever you’re feeling.
And remember, never call them JIFFssssss!
